A Connecticut homeowner shares why they chose spray foam insulation for their new construction home — and how it cut long-term heating and cooling costs from day one.
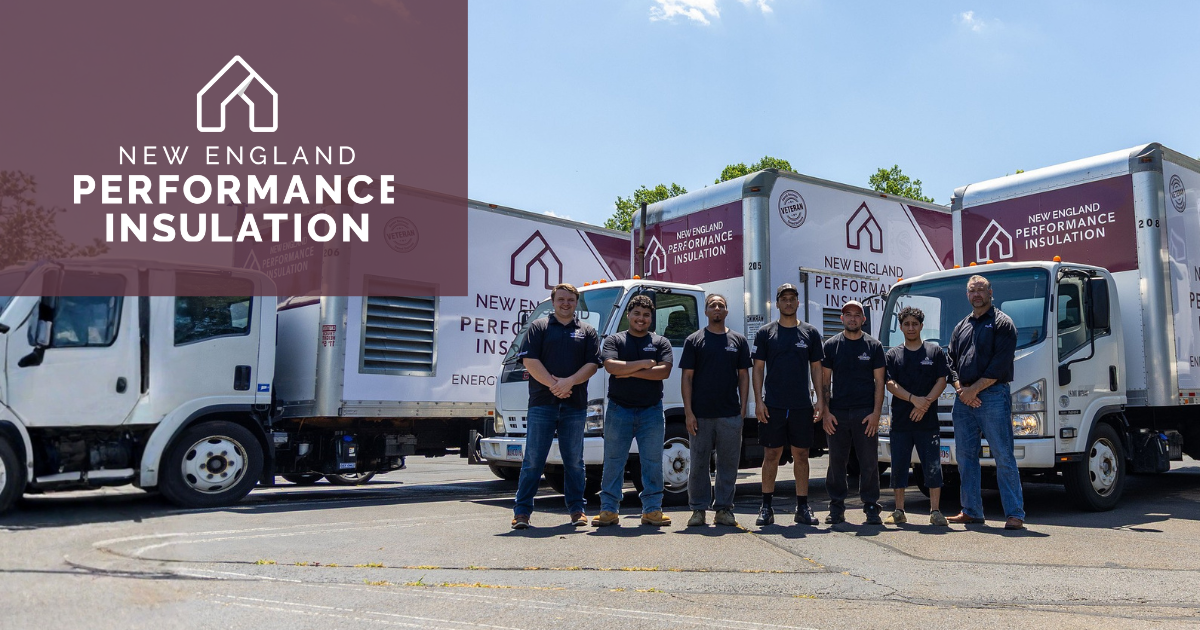
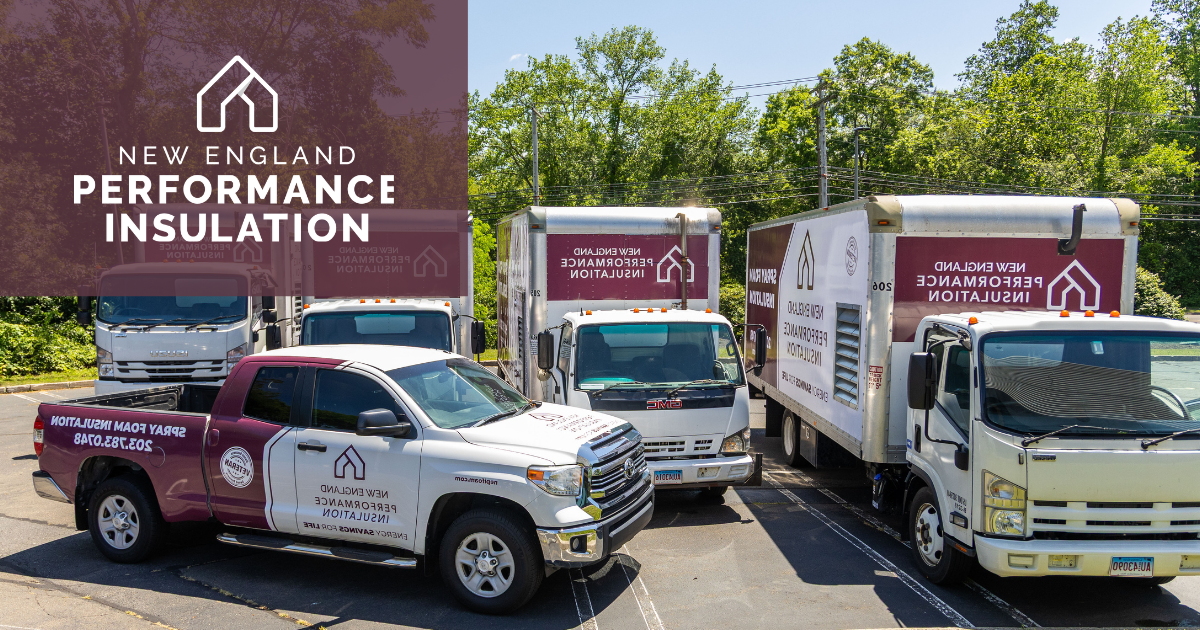
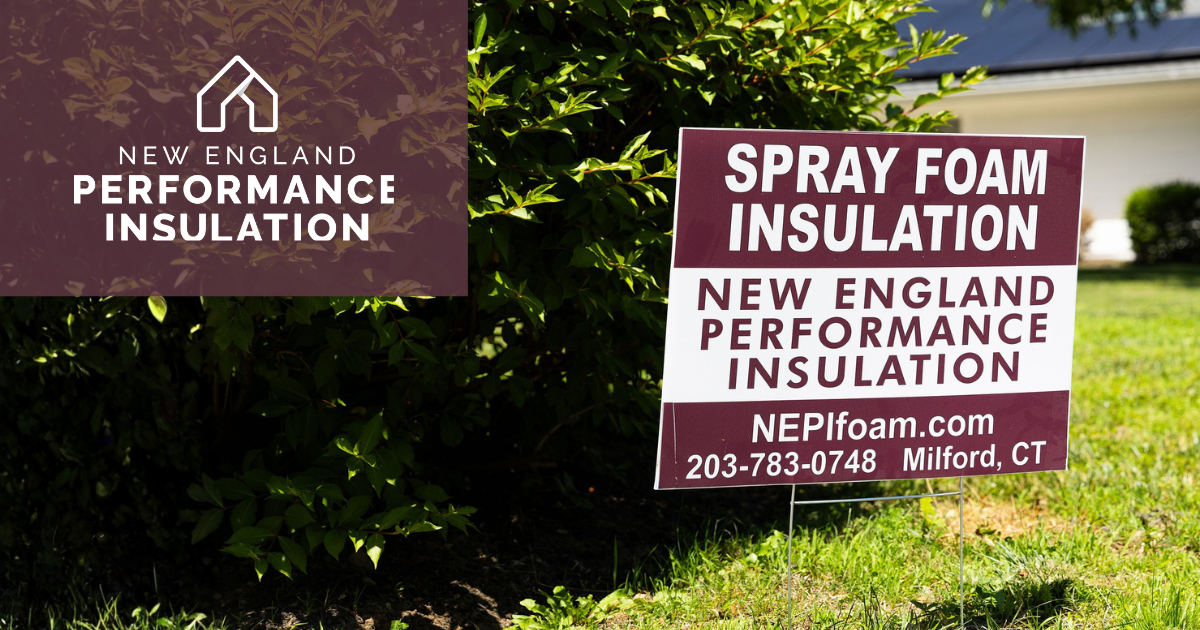
Learn about New England Performance Insulation (NEPI) — a Milford, CT insulation contractor serving New Haven County since 2015. Spray foam, fiberglass, cellulose, crawl space encapsulation, and commercial fireproofing.
Hear from a real Connecticut homeowner about what it's like to hire NEPI for insulation. From five-star reviews to responsive staff — here's why homeowners trust NEPI.

Learn what commercial fireproofing is, how it protects structural steel, and why it’s required by building codes for safety.
Learn how fireproofing protects structural steel, prevents collapse, and helps meet building codes. A complete guide for commercial construction and safety.
Learn the difference between fireproofing and fire-resistant insulation, where each is used, and how they impact safety, building codes, and energy efficiency.
Learn where fireproofing is applied and why it’s essential for protecting commercial buildings.
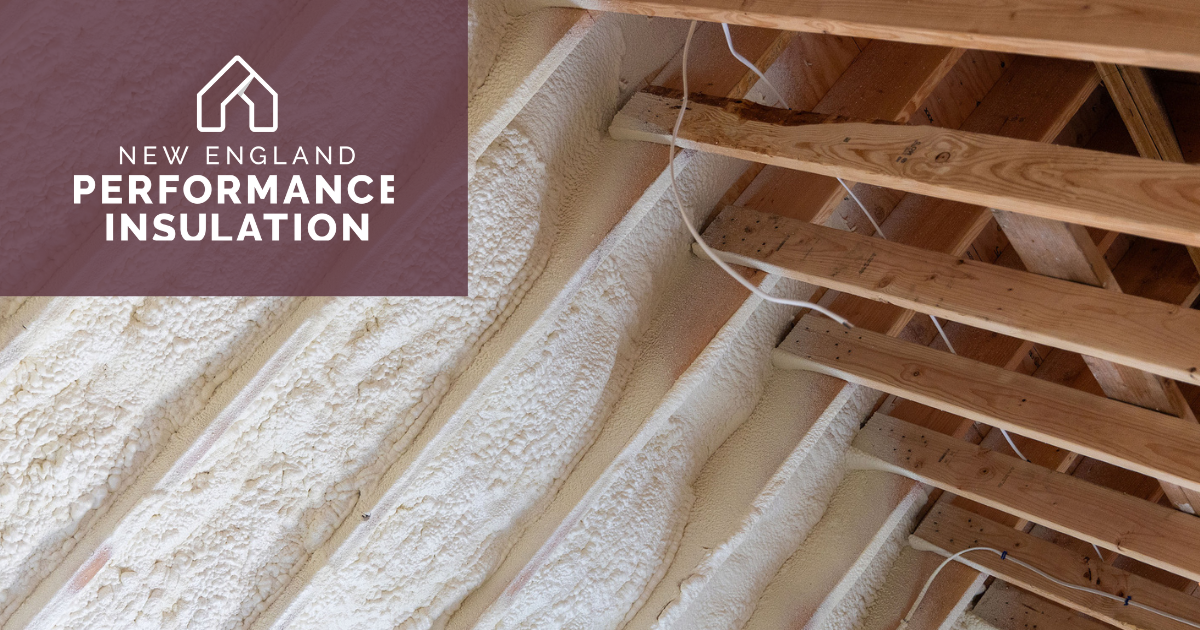
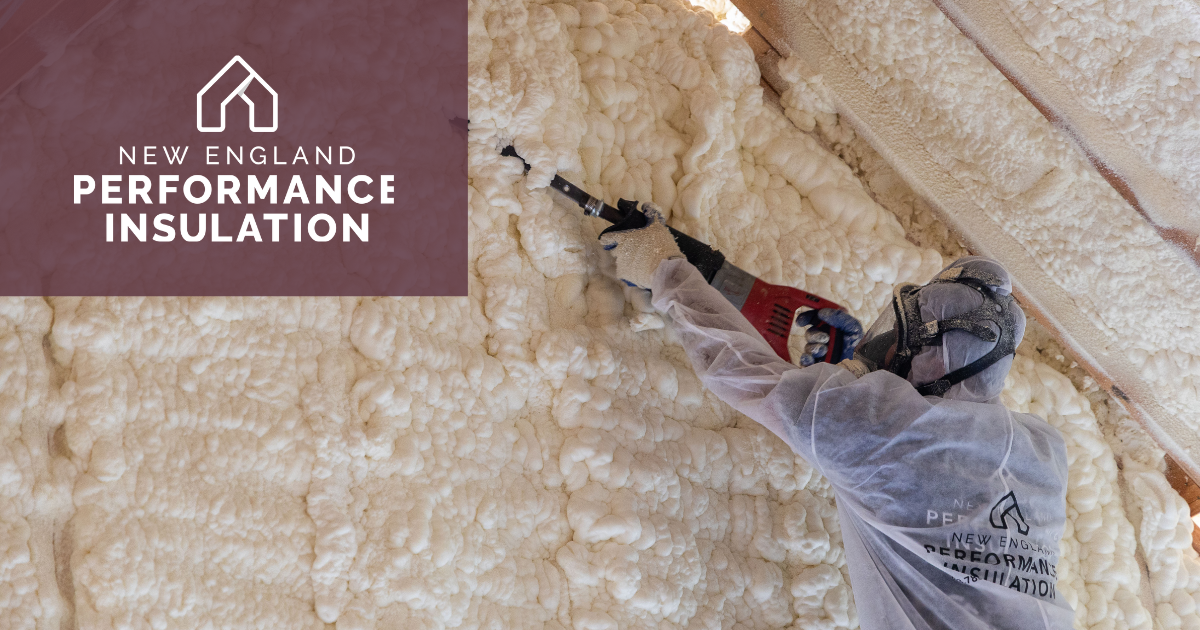
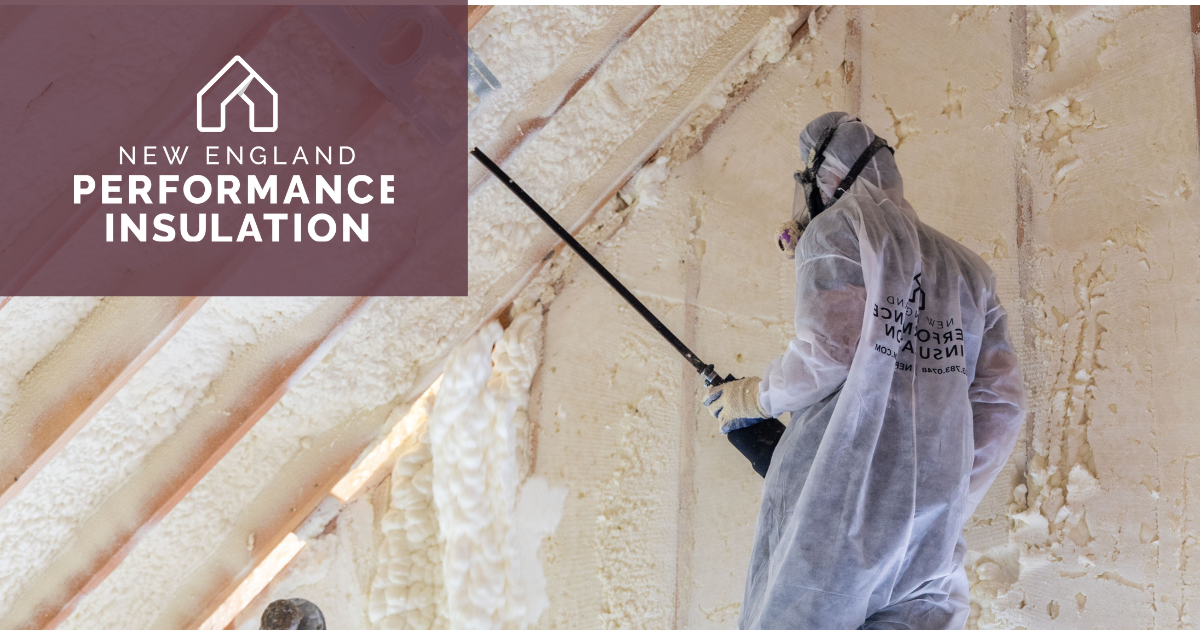
Spray foam insulation is the most energy-efficient option, sealing air leaks and boosting long-term performance. See how it compares to fiberglass and cellulose.
Compare spray foam, fiberglass, and cellulose insulation to understand which option delivers the best energy efficiency, cost, and long-term performance.
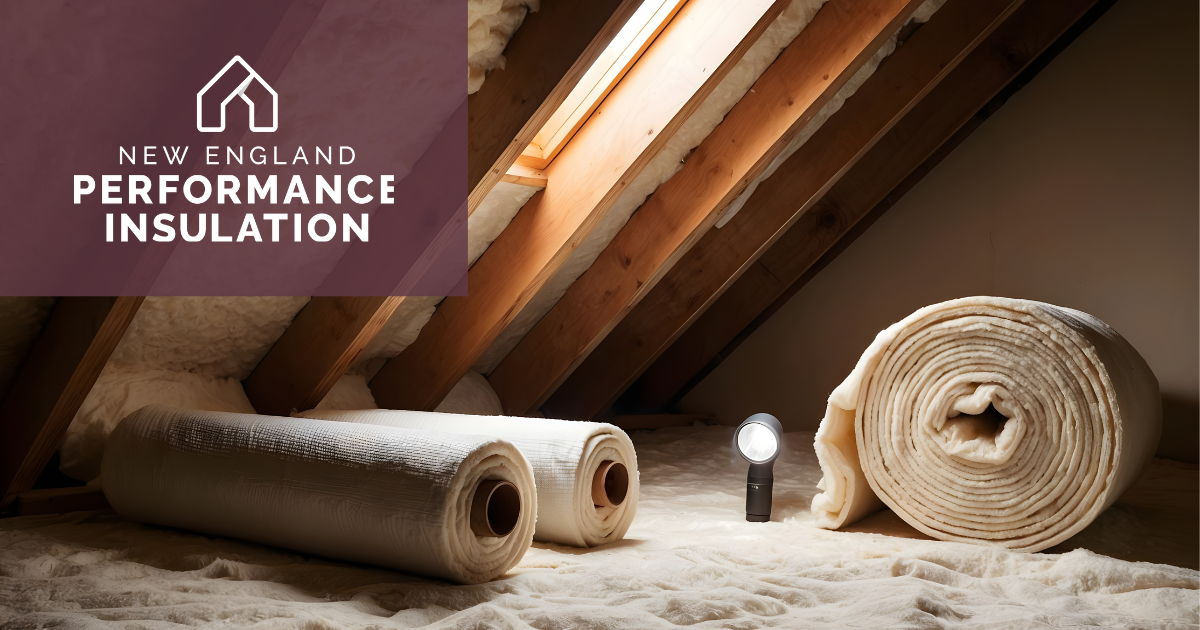
Learn which areas of your home to insulate first to reduce energy loss, improve comfort, and maximize efficiency.